01
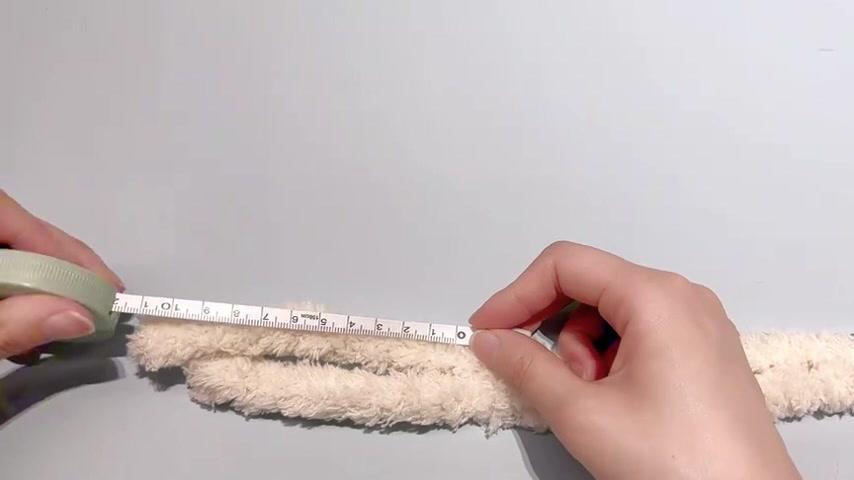
Fold the wire unevenly
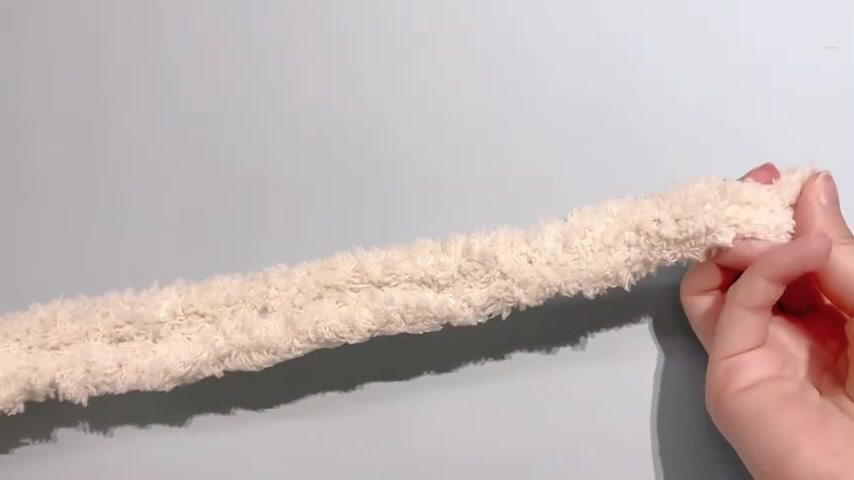
Fold the precut wire back on itself. Adjust the ends so one is 10 cm (about 4 inches) longer than the other. Do not cut the wire. Keep track of the longer end.
 ← Explore the gift shop
A twist here, a little fluff there. Follow along to turn your kit into a tiny companion with a personality all its own.
English subtitles included · Pause and replay as you go. Jump to written instructions ↓
In your kit: one precut length of fluffy wire, eyes, a nose, and accessories.
You will also need: a ruler or measuring tape, plus suitable craft glue.
Work slowly and compare matching parts before tightening each twist. Left and right refer to your view while looking at the bear’s face.
Keep wire tips tucked away. Adult help is recommended for children using glue and small pieces. Glue is assumed for the finishing step; follow any attachment instructions supplied with your kit.Photos are from the original tutorial and retain its Chinese subtitles. The English directions explain each step. Tap a timestamp to jump to the video.
Fold the precut wire back on itself. Adjust the ends so one is 10 cm (about 4 inches) longer than the other. Do not cut the wire. Keep track of the longer end.
Open the folded end into a small loop using two fingers. Pinch beneath it and twist to secure it; the demonstration adds two turns from left to right. Shape the loop into a small oval, then bend it forward about 90 degrees.
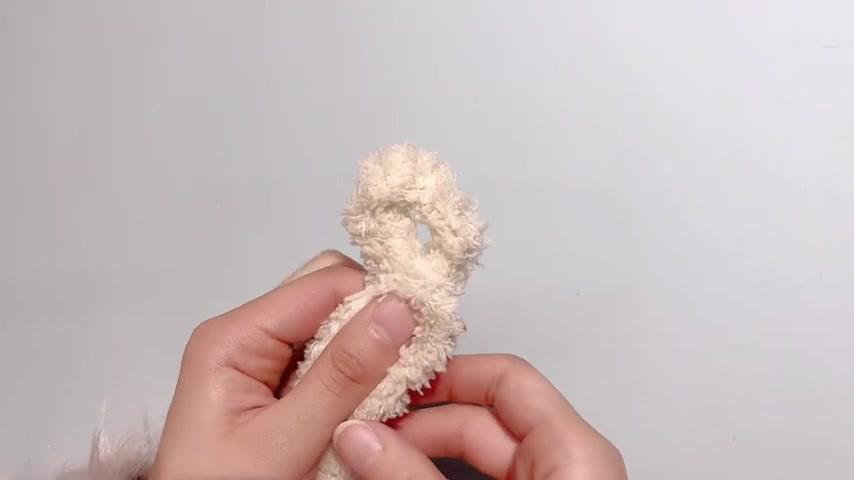
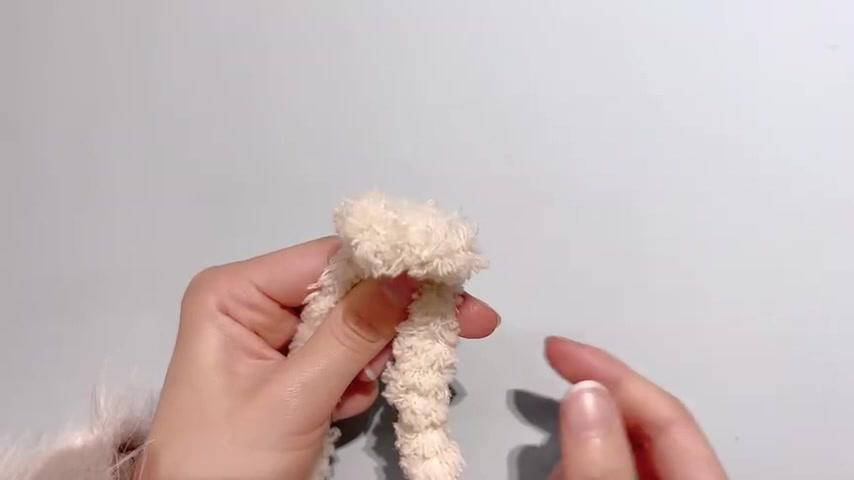
Feed the longer end through the muzzle loop. Pull it through gradually, leaving an upright loop for the first ear. Keep the ear opening a little wider than one finger. Do not pull it completely closed.
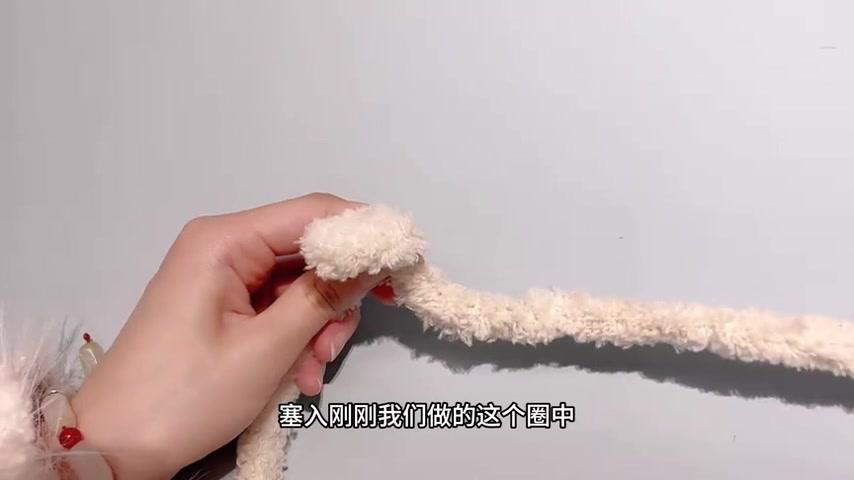
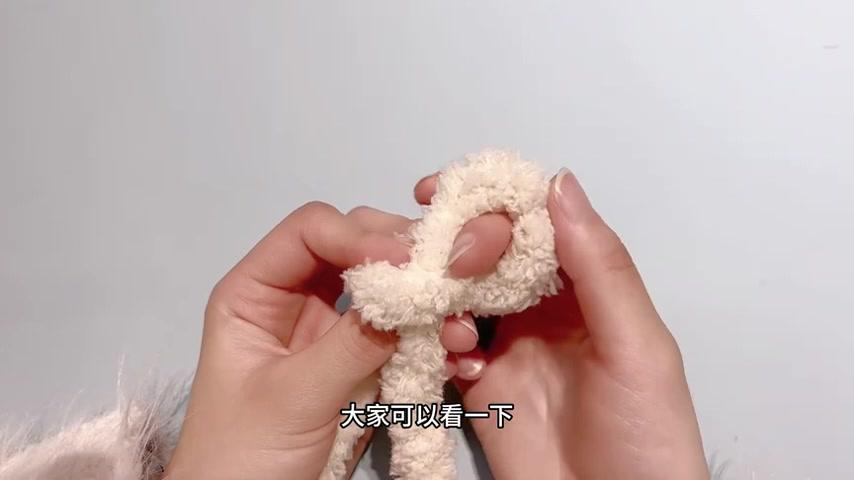
Repeat with the other end on the opposite side of the muzzle. Pull gently to adjust the size, then compare both ears. Make the openings equal before securing them.
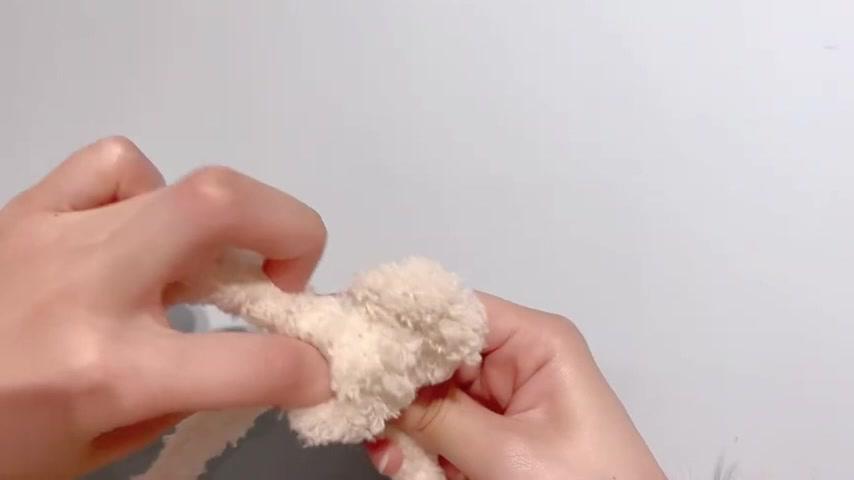
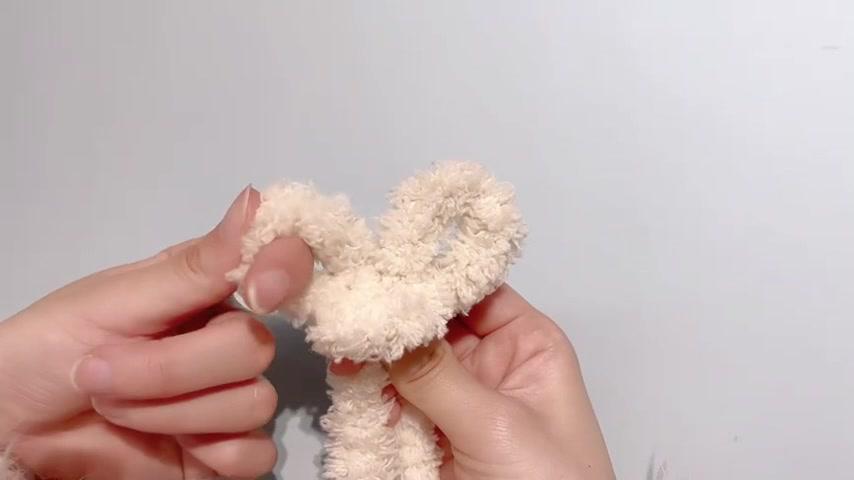
With the face toward you, twist the ear on your left one turn toward the right. Twist the ear on your right one turn toward the left. Gently round the ears again after twisting.
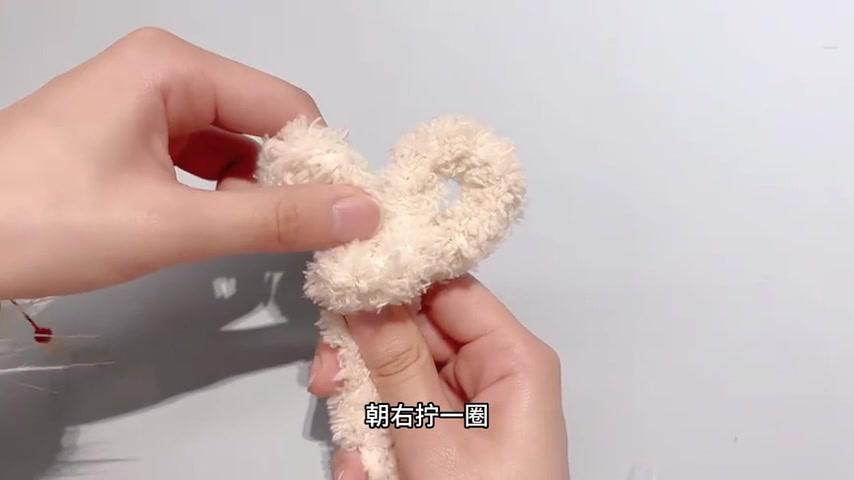
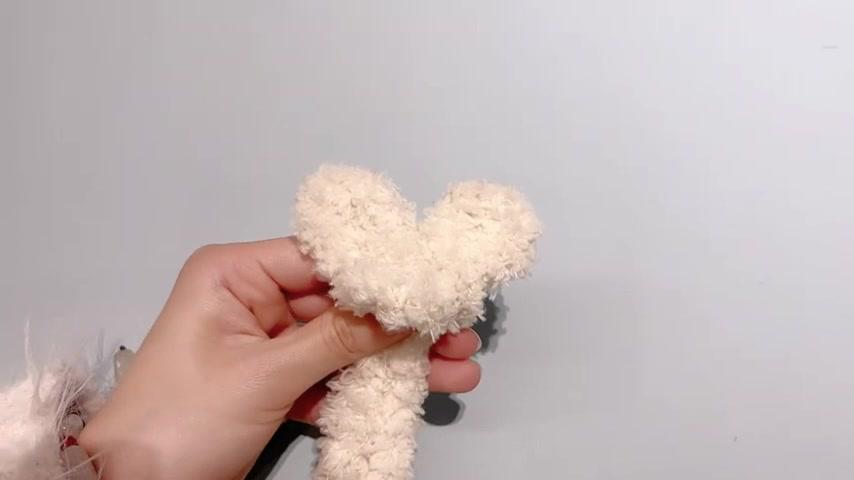
Take the longer remaining end. Starting behind the head, wrap it up and around the ear on your left, then down behind the head. Continue up at the front around the ear on your right, then down the back between the ears. Keep the muzzle loop open.
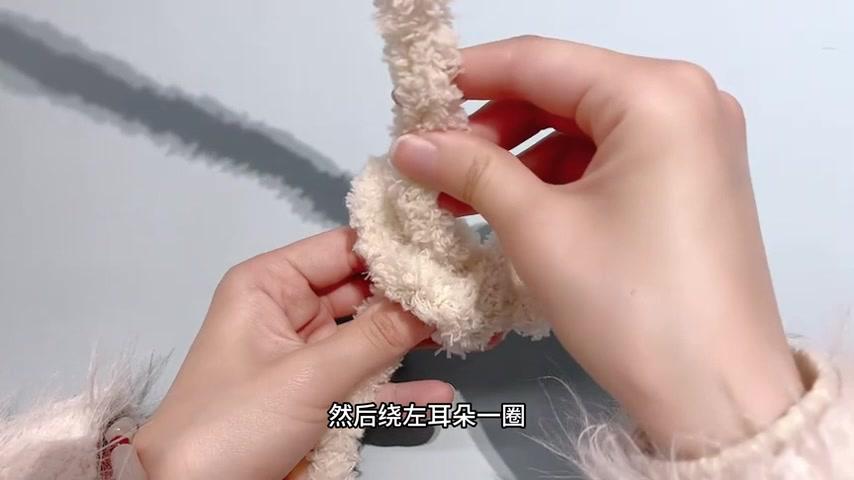
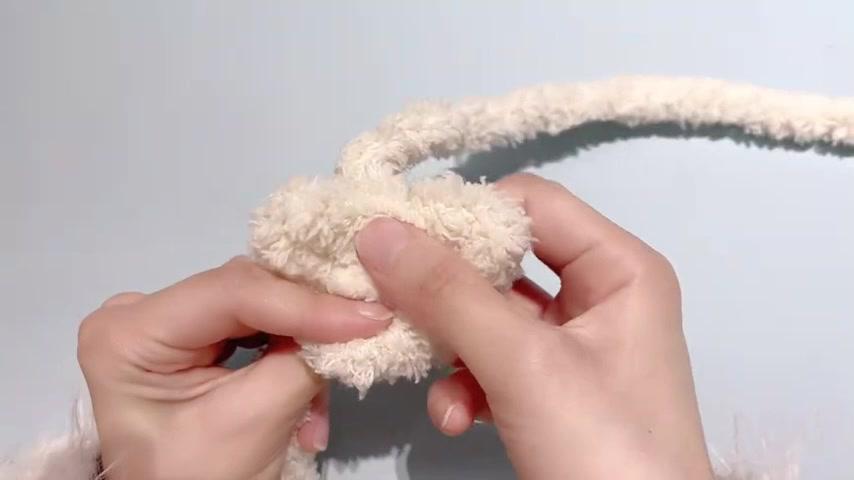
Keep one wire length in front and one behind. Bring the back length toward your left, feed it upward through the head opening from underneath, then bend it over the top and down the back. Shape the head gently, leaving the muzzle projecting forward.
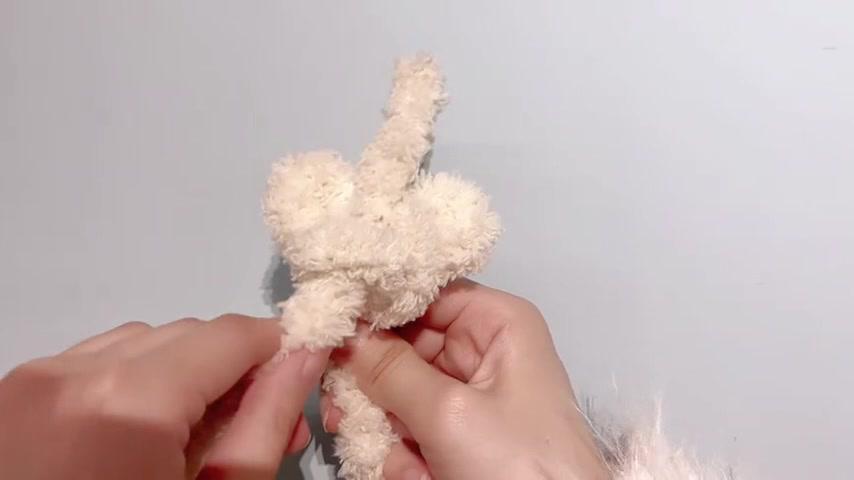
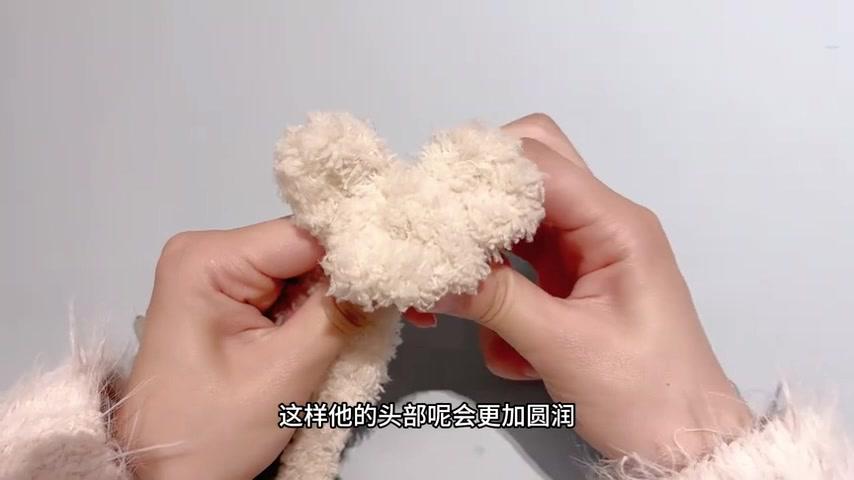
Move the back length toward your right. Hold the two lengths apart beneath the head, with a finger between them. Support the neck and rotate the head one full turn toward the right, as shown in the video.
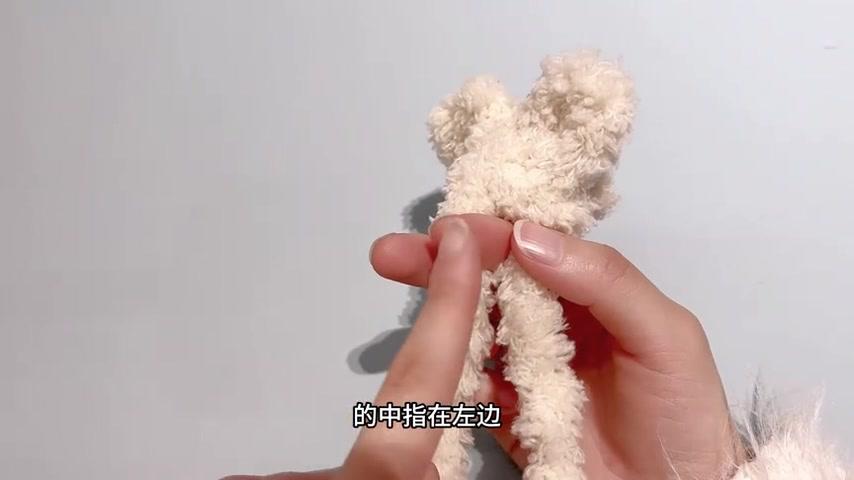
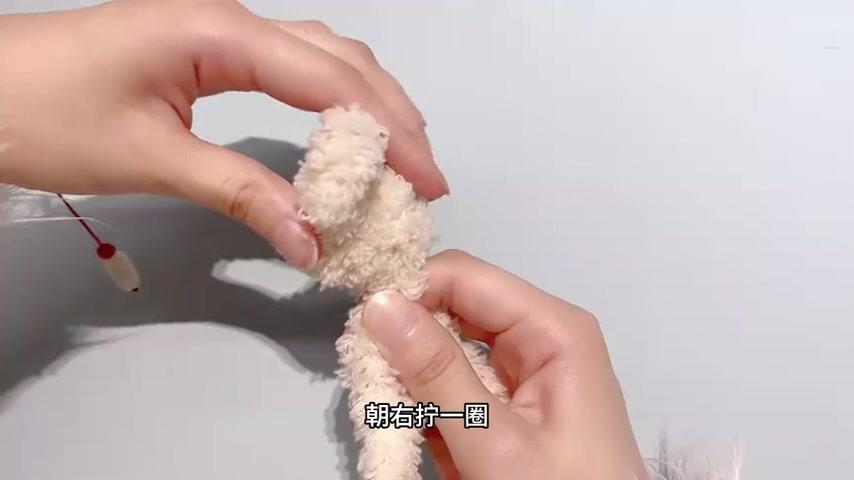
Fold a short section of the wire on your right back on itself. Twist the doubled section to form the first arm. Bring the remaining wire across and repeat on the other side. Check that both arms are equal before tightening.
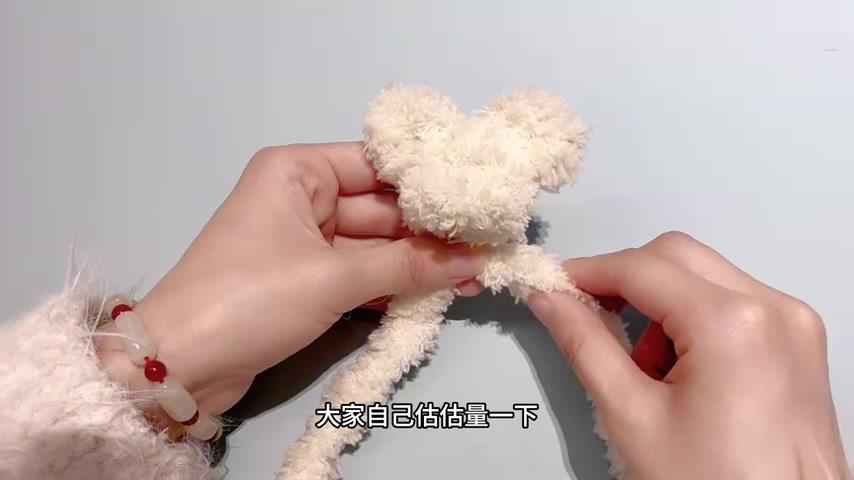
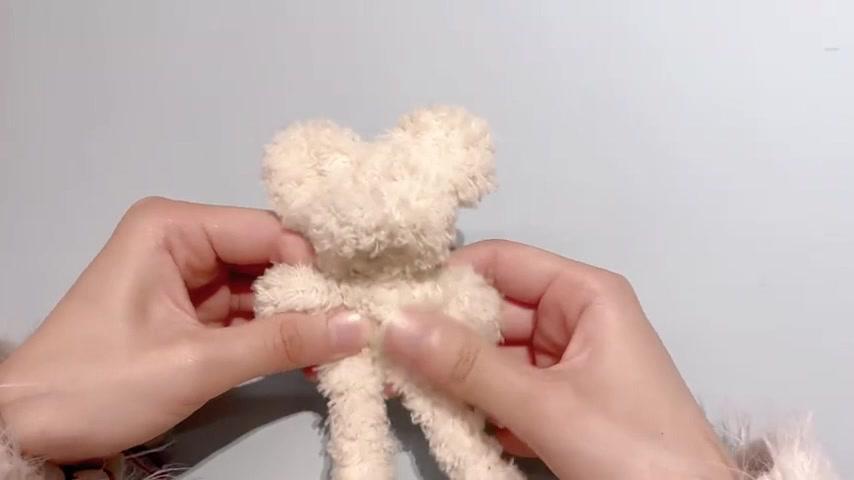
Use the remaining wire below the body. Fold a section upward and twist the doubled wire to form a leg. Repeat on the other side. Compare the legs and adjust them to the same length and thickness.
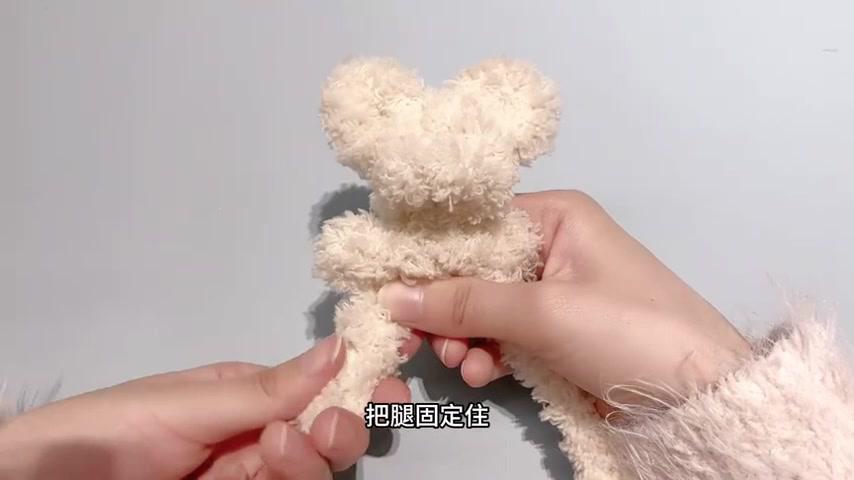
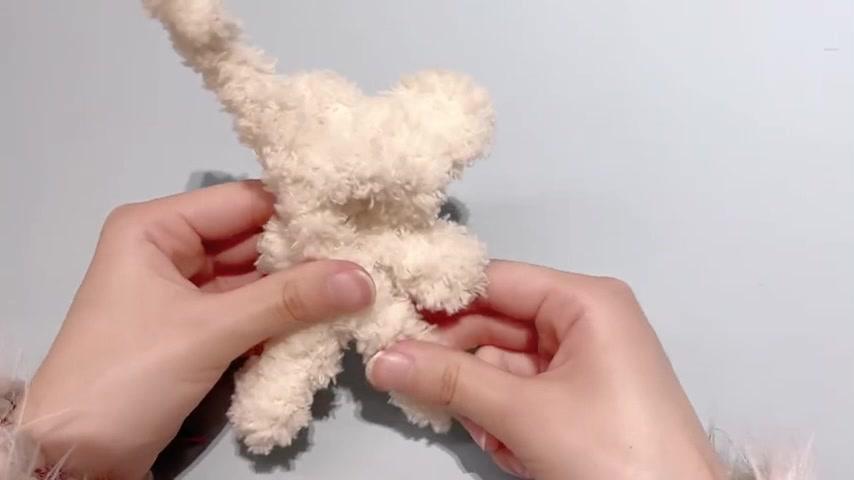
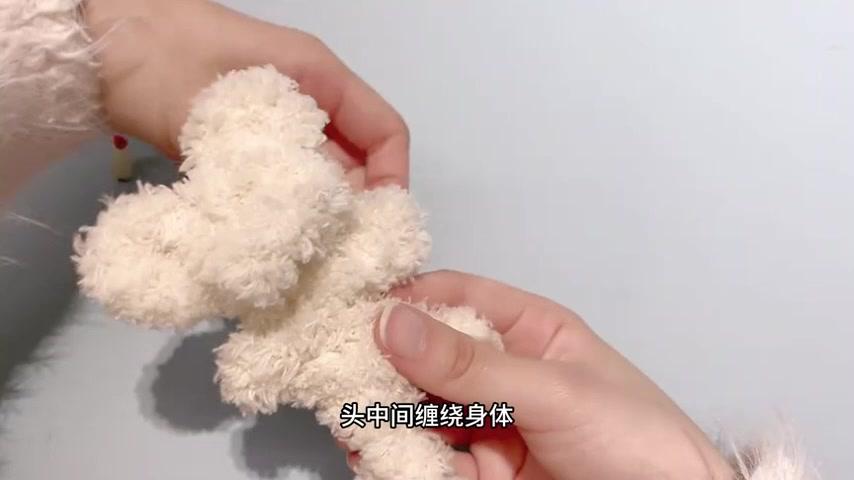
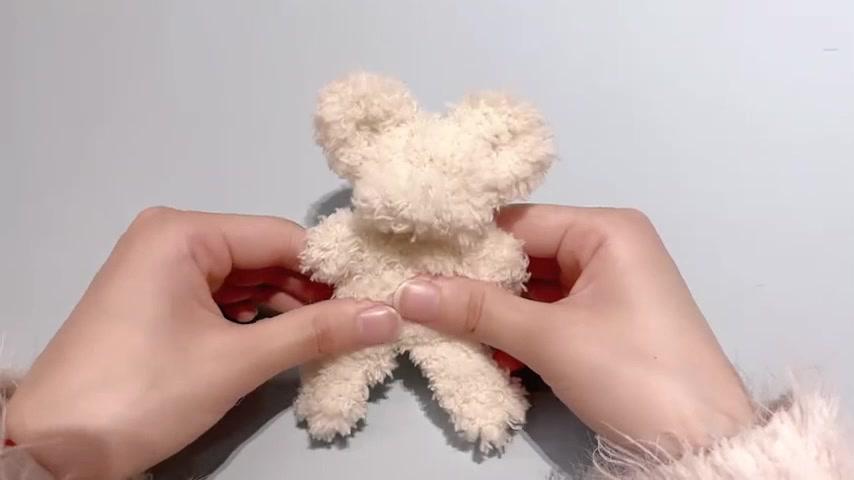
Wrap the leftover wire around the middle of the body, following the demonstration. Tuck the end into the wrapping so no sharp tip is exposed. Gently reshape the bear and fluff the fibers with your fingers to soften the joins.
Arrange the eyes and nose before attaching them. Use a small amount of craft glue suitable for the pieces, following the glue label. Add your chosen accessories and let everything dry fully before handling. This finishing step is additional guidance; it is not demonstrated in the video.
Try the eyes and nose in a few positions before gluing.
Small changes can give your bear a completely different expression.
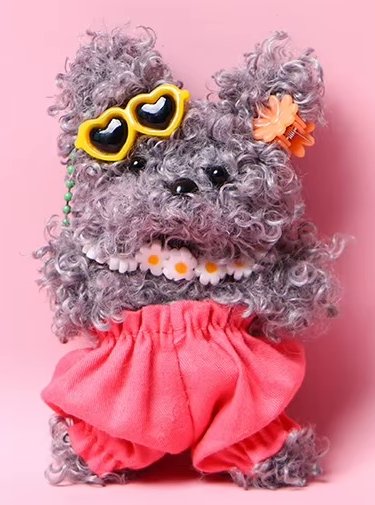
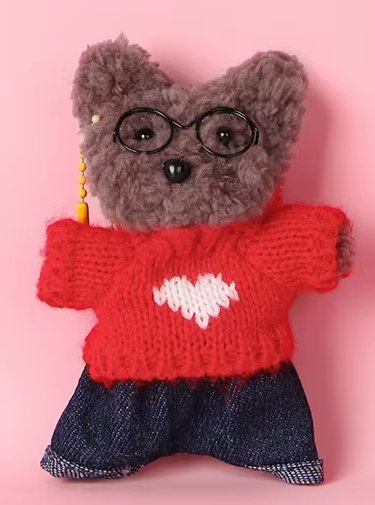
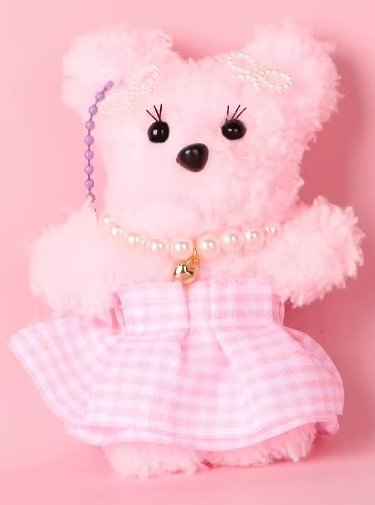
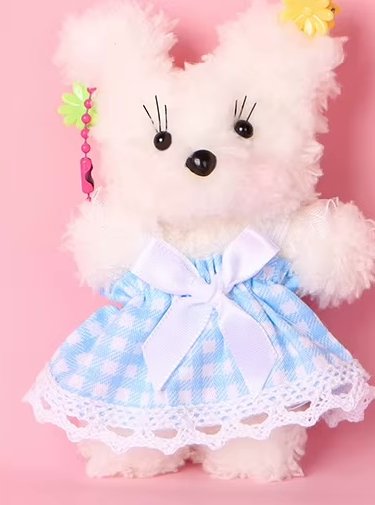
Accessories vary by kit. Let glue dry for the full time recommended on its label.
Save or print the complete 7-page illustrated instructions.
Download instructions · PDF